Everwondered how to amplify your drill’s functionality without turning it into a Frankenstein’s monster? If you’re a DIY enthusiast or a professional, you might have stumbled upon the DeWalt Air Horn Drill Attachment—a nifty add-on that can serve various purposes like blowing dust off surfaces or inflating objects quickly. But here’s the catch: installing it improperly can damage your precious DeWalt drill. In this guide, I’ll walk you through how to install a DeWalt Air Horn Drill Attachment safely and efficiently, making sure your drill stays in tip-top shape. Ready? Let’s dive in!
Understanding the DeWalt Air Horn Drill Attachment
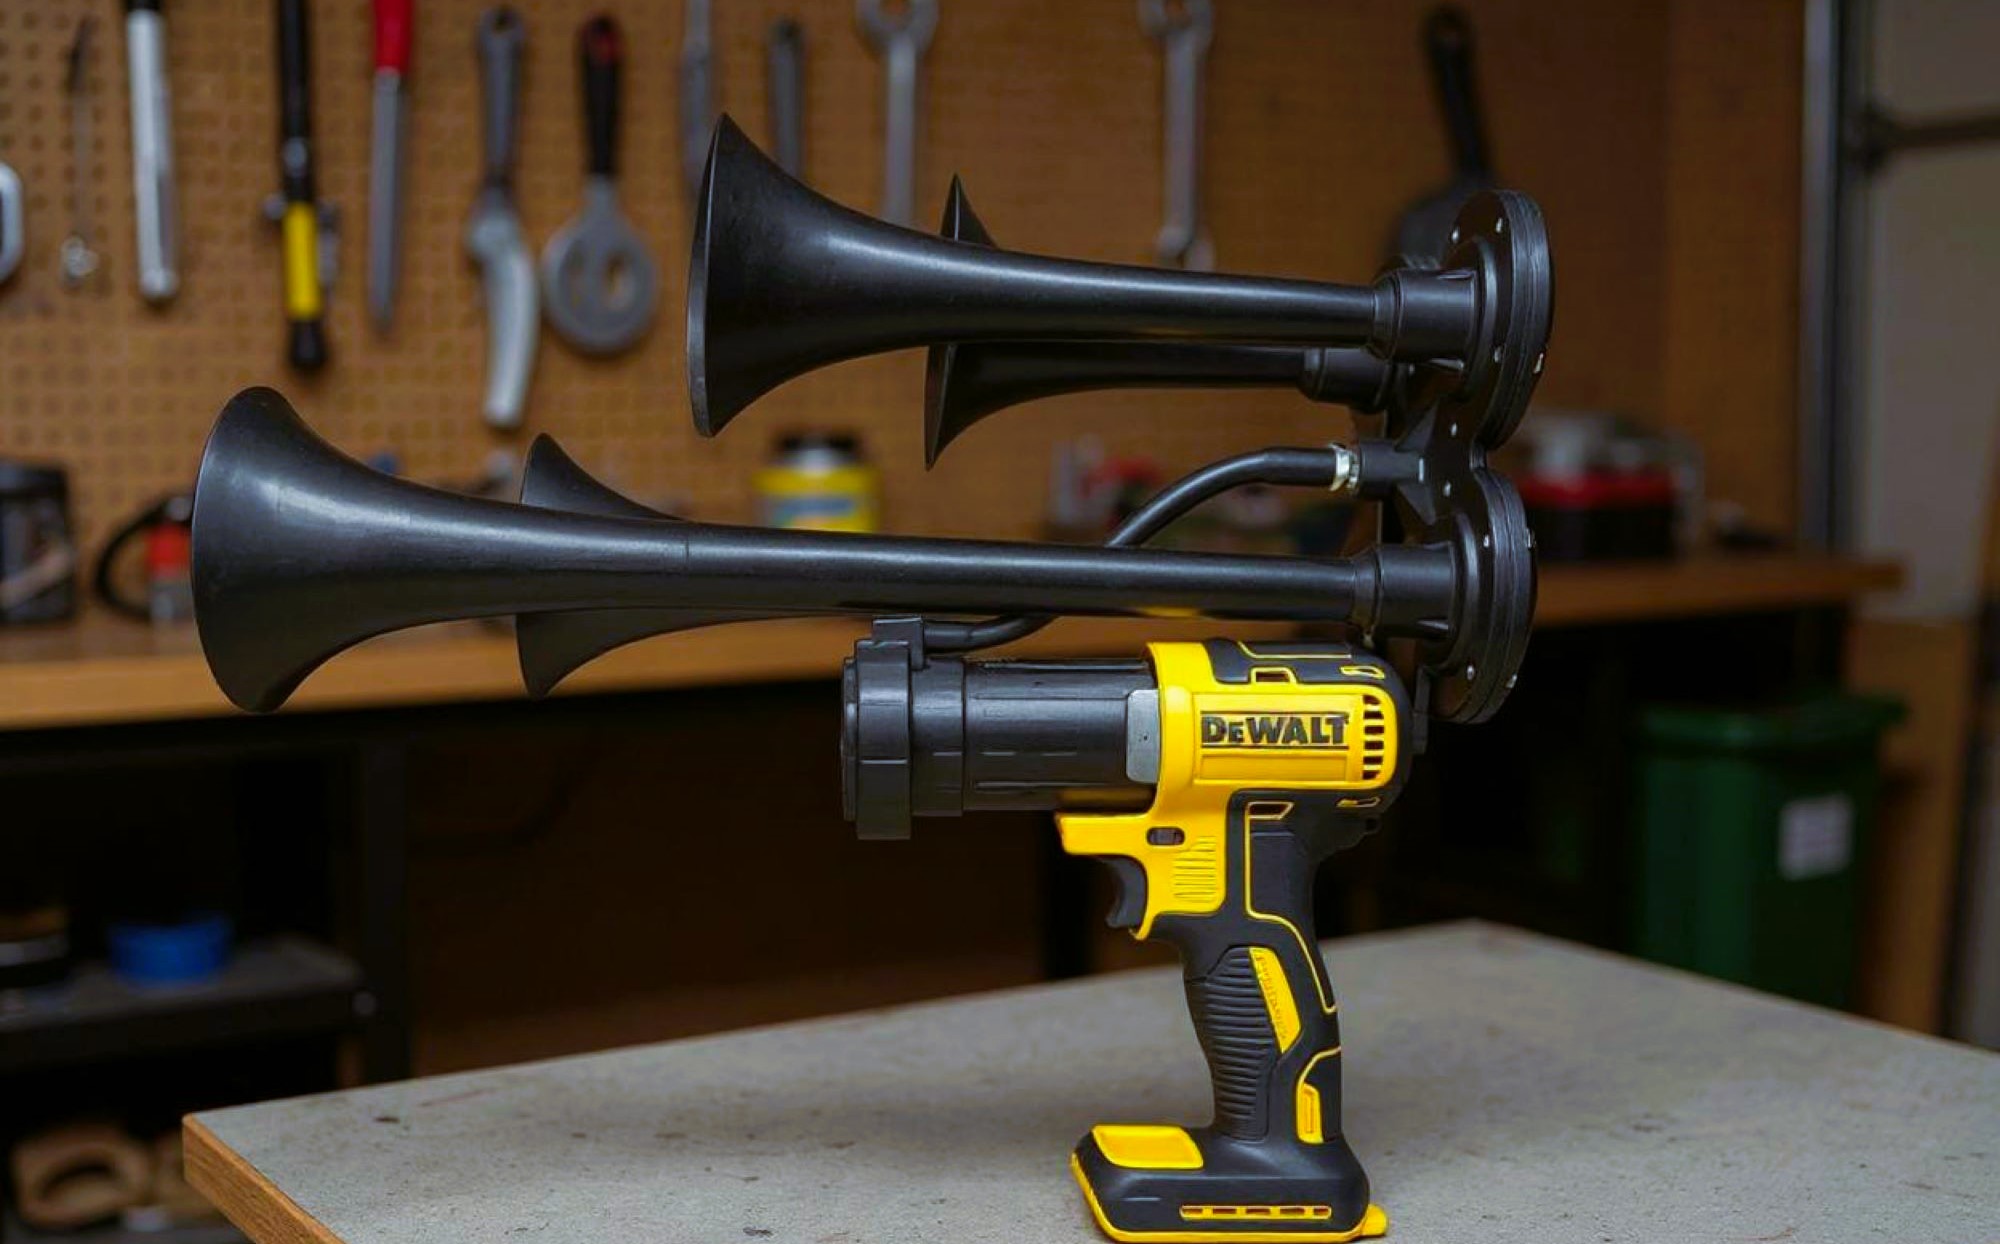
The DeWalt Air Horn Drill Attachment is essentially an accessory that transforms your standard drill into a versatile air blower. Imagine it as a turbocharger that boosts your drill’s ability to generate a powerful burst of air simply by spinning. When attached to your drill, it channels the rotational energy into producing a focused stream of air. This makes it incredibly useful for a variety of tasks where quick, concentrated airflow is needed without having to reach for a separate air compressor or blower.
One of the most common applications of this attachment is cleaning. Whether it’s blowing dust and debris off delicate surfaces or clearing sawdust from your workspace, the air horn attachment makes these chores faster and more efficient. Besides cleaning, it can also be used to inflate small items like balloons or pool toys, offering a handy solution for quick inflation without the need for bulky equipment. Additionally, its convenience shines in workshop and construction environments where blowing away dirt and dust swiftly can help keep the area clean and safe.
Choosing the DeWalt Air Horn Drill Attachment over generic or third-party options comes with clear advantages. Since this accessory is specifically designed for DeWalt drills, it guarantees a perfect fit and seamless compatibility. This tailored design means you can expect optimized performance and reduced wear on both your drill and the attachment. Opting for a third-party attachment may seem cost-effective initially, but it often risks improper fitting, reduced efficiency, and even potential damage to your drill. Moreover, using non-approved accessories might void your warranty, which is a costly gamble for any tool owner.
Ultimately, the DeWalt Air Horn Drill Attachment combines convenience, efficiency, and safety, making it a smart addition to your tool kit. Its thoughtful design and multipurpose use cases help you get more from your drill, enhancing your productivity without compromising the tool’s integrity. When you understand what this attachment does and why it works best with DeWalt drills, it becomes clear why it’s a trusted choice for many DIYers and professionals alike.
Pre-Installation Checklist: What You’ll Need
| Item | Purpose | Why You Need It | Additional Notes | Tips for Best Results |
| DeWalt Air Horn Drill Attachment | Essential accessory for the task | This is the main tool that converts your drill into an air blower | Designed specifically for DeWalt drills ensuring perfect fit | Always use genuine attachments to avoid compatibility issues |
| Your DeWalt Drill | The power source and base tool | Provides the rotational force needed to spin the attachment | Must be compatible in chuck size and type with the attachment | Confirm chuck size before purchase to avoid fitting problems |
| Safety Gloves | Personal protection gear | Protects your hands from accidental slips or sharp debris | Especially useful during installation and handling of tools | Use durable gloves with good grip for safe handling |
| Clean Cloth | Cleaning and prepping surfaces | Removes dust, dirt, and grease from drill and attachment surfaces | Ensures secure and tight fitting by eliminating contaminants | Use a lint-free cloth for better cleaning efficiency |
| Lubricant (Optional) | Ease of installation | Helps loosen tight fittings and prevents thread damage | Use light machine oil or manufacturer-recommended lubricant | Apply sparingly to avoid attracting dust or debris |
Inspect Your Drill and Attachment
- Begin by thoroughly examining your drill chuck. Check that it is completely clean and free of any dust, dirt, grease, or debris. Even the smallest particles can prevent the attachment from fitting securely, leading to wobbling or slippage during use, which can damage both your drill and the accessory.
- Inspect the condition of the chuck jaws closely. Look for signs of wear, cracks, or deformation that might impair their ability to grip the attachment properly. Damaged chuck jaws can result in uneven holding pressure or sudden release of the attachment during operation.
- Verify the size of your drill chuck. Most DeWalt drills come with either a ½ inch or ⅜ inch chuck size. It’s essential to confirm this measurement so that the air horn attachment you’re using matches perfectly. Using an attachment that is too large or too small will cause fitting issues or might damage the chuck.
- Check the fitting end of the DeWalt Air Horn Drill Attachment carefully. Make sure the diameter and shape match your drill’s chuck size exactly. This fitting end must slide in smoothly without excessive force or looseness.
- Examine the attachment for any visible damage such as cracks, dents, bends, or scratches. Even minor imperfections can become dangerous at high speeds or cause uneven operation. Do not use the attachment if you find any damage; it’s better to replace it than risk injury or drill damage.
- Inspect any threads on the attachment and inside the drill chuck (if applicable). Ensure they are intact, free from rust, and not stripped or worn. Damaged threads compromise the security of the connection and can lead to the attachment slipping off unexpectedly.
- Look for signs of corrosion or rust on both the drill chuck and attachment fitting. Corrosion can reduce the strength of metal parts and cause difficulty during installation or removal. Clean rust off or consider replacing corroded parts before proceeding.
- Assess the overall structural integrity of your drill. If your drill has experienced heavy usage, drops, or poor maintenance, internal damage may be present that affects its performance and safety. Consider servicing or testing your drill before adding new attachments.
- Confirm that the chuck operates smoothly by opening and closing it several times. Any stiffness, grinding sounds, or resistance can indicate a need for maintenance or lubrication before fitting the attachment.
- Double-check for any foreign objects lodged inside the chuck or attachment fitting, such as small stones, metal shavings, or sawdust, which can interfere with the proper fit and function.
- Finally, think through the compatibility and safety aspect. Forcing an incompatible attachment into your drill can cause irreversible damage to your tool, pose safety risks, and void warranties. Always make sure the parts are fully compatible before installation.
- Taking these inspection steps seriously not only protects your investment but also ensures your safety while working. Proper preparation can prevent unexpected tool failure and help your drill and attachment perform at their best.
Clean the Surfaces
Before installing the DeWalt Air Horn Drill Attachment, one of the most important yet often overlooked steps is cleaning the surfaces where the attachment will connect to the drill. Using a clean cloth, you should thoroughly wipe down both the drill chuck and the fitting end of the attachment. This simple action removes accumulated dust, dirt, grease, or any other contaminants that could interfere with the secure fitting of the attachment. Even small amounts of grime can create gaps or reduce friction, causing the attachment to slip during operation or fail to seat properly in the chuck.
Dust and dirt particles are notorious for hiding in the small crevices of tool components, especially around the chuck jaws and the fitting area of the attachment. When these particles remain in place, they can prevent the chuck from fully gripping the attachment. This not only reduces the performance of the drill but can also lead to wobbling or dangerous detachment while the tool is spinning at high speeds. Grease or oily residues further complicate this by making the surfaces slippery, which defeats the purpose of tightening the chuck securely.
Cleaning also serves a protective role for your equipment. Dirt and grime act like abrasive agents, causing micro-scratches and wear over time. By regularly cleaning the connection points, you help maintain the integrity of both your drill and the attachment, extending their lifespan. Additionally, clean surfaces make it easier to spot any signs of wear or damage before installation, allowing you to address potential problems proactively.
Taking the time to clean these surfaces may seem like a minor task, but it pays off significantly in terms of safety, tool longevity, and performance. When the chuck and attachment fit tightly and without obstruction, you reduce the chances of accidents and make your work smoother and more efficient. So grab that clean cloth and give your tools a proper wipe-down before you get started — it’s a small step that makes a big difference.
Prepare Your Drill
| Step | Action | Purpose | Safety Tips | Additional Notes |
| Turn off the Drill | Power down the drill completely | Prevents accidental startup during installation | Always remove the battery or unplug the drill | This is crucial to avoid injuries or tool damage |
| Remove the Battery | Detach the battery pack from the drill | Ensures the drill cannot be powered on | Handle battery carefully to avoid short circuits | Store battery safely away from the workspace |
| Open the Chuck | Rotate the chuck counterclockwise | Widens the chuck jaws to allow attachment insertion | Use slow, steady movements to avoid stripping threads | Make sure chuck opens wide enough for the attachment |
| Inspect Chuck Movement | Test smoothness while opening | Confirms chuck operates properly | If stiff or grinding, consider lubricating or servicing | Smooth operation ensures secure fitting |
| Clear Chuck Interior | Remove any debris inside chuck | Prevents obstruction and ensures proper grip | Use a brush or compressed air for thorough cleaning | Clean chuck before inserting attachment |
Insert the Air Horn Attachment
- Begin by firmly holding the DeWalt Air Horn Drill Attachment with a secure grip. Make sure your hands are dry and stable to avoid dropping or damaging the attachment during installation. A steady hold helps you maintain control and ensures precise alignment.
- Position the attachment’s fitting end directly in front of the open drill chuck. Take a moment to align it carefully so that it is perfectly straight and centered. Proper alignment is critical to avoid damaging the chuck jaws or the attachment’s fitting during insertion.
- Gently slide the fitting end straight into the chuck without twisting or forcing it at an angle. The attachment should slide in smoothly if it matches your drill chuck size. Avoid wiggling or rocking motions, as these can cause wear on the chuck or the attachment threads, reducing their lifespan.
- If you encounter resistance or if the attachment feels tight, resist the urge to force it in. Forcing can strip threads, bend components, or cause cracking. Instead, pause and inspect the fitting surfaces again to ensure they are clean and properly aligned.
- To ease the insertion when it’s tight, consider applying a small amount of lubricant such as light machine oil or a manufacturer-recommended lubricant around the fitting area. This helps reduce friction and allows the attachment to slide into the chuck more easily without damage.
- After applying lubricant, attempt the insertion again with a slow and steady push. The attachment should now slide in with less resistance, allowing for a snug and secure fit.
- Once fully inserted, check visually that the attachment sits flush and straight within the chuck, with no noticeable gaps or wobble. A secure and centered fit is vital for safe operation and optimal performance.
- If you notice any misalignment, loosen the chuck slightly, adjust the position of the attachment, and try inserting it again until it fits perfectly.
- Remember that patience and attention to detail during this step can save you from costly damage or safety hazards later on.